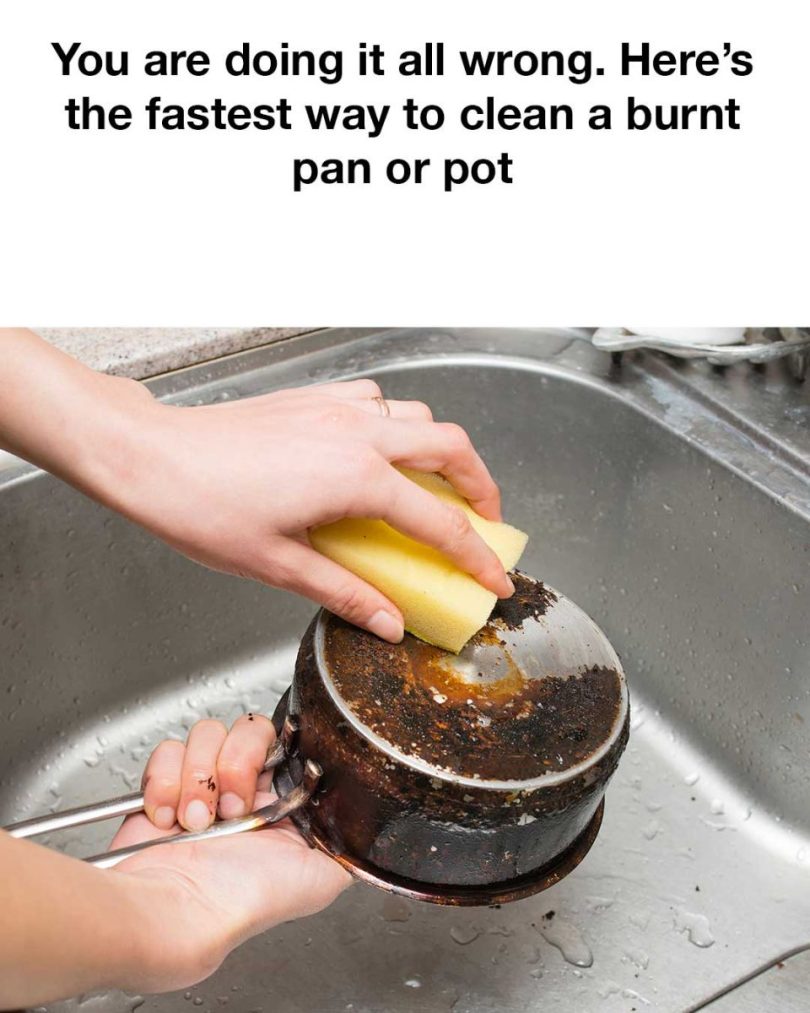
We’ve all been there: a momentary lapse of attention, and suddenly your favorite pan or pot is covered in a stubborn layer of burnt food. The charred mess can seem impossible to remove, leaving you frustrated and questioning whether your cookware will ever be the same again.
But before you reach for that steel wool or harsh chemicals, let’s explore a faster, easier, and less damaging way to clean your burnt pan or pot. You might be surprised to find out that you’ve been doing it all wrong.
Understanding the Problem: Why Pans and Pots Get Burnt
Burnt pans or pots usually happen when food is cooked at too high a temperature, left unattended, or cooked for too long. The food sticks to the surface of the cookware, and as it burns, it creates a layer of carbonized residue that adheres stubbornly to the pan. This burnt layer isn’t just a simple stain; it often forms a bond with the metal, making it difficult to remove with basic cleaning methods.
Common Mistakes People Make
1. Using Abrasive Scrubbers
One of the most common mistakes is grabbing a steel wool pad or other abrasive scrubber. While these can remove the burnt layer, they can also scratch and damage your cookware, particularly if it’s non-stick or made from softer metals like aluminum or copper. Over time, these scratches can make your pans more prone to sticking and further damage.
2. Applying Excessive Force
It might feel satisfying to scrub away at a burnt pan with all your might, but this is neither effective nor necessary. Excessive scrubbing can damage the surface of your pan, and it usually doesn’t make the cleaning process any faster.
3. Using Harsh Chemicals
Some people turn to harsh chemical cleaners in a desperate attempt to save their cookware. While these may dissolve the burnt-on residue, they can also leave behind toxic residues and fumes, particularly if they’re not fully rinsed off. Moreover, harsh chemicals can damage the pan’s surface over time, especially on non-stick or enamel-coated cookware.
The Fastest and Most Effective Method
Here’s the method that will save your pan without damaging it, and it’s likely you already have everything you need in your kitchen.
Materials Needed:
Baking soda
White vinegar
Water
Soft sponge or non-abrasive scrubber
Wooden or silicone spatula (optional)
Step-by-Step Guide:
1. Cool the Pan
Continued on next page
For Complete Cooking STEPS Please Head On Over To Next Page Or Open button (>) and don’t forget to SHARE with your Facebook friends ADVERTISEMENT
Before starting, make sure your pan is cool enough to handle. Cleaning a hot pan not only risks burns but can also warp the metal, particularly if you introduce cold water to a hot surface.
2. Add Water
Fill the burnt pan with enough water to cover the burnt area. You don’t need to fill the entire pan, just enough to submerge the charred section.
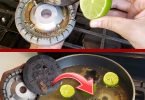
3. Add Vinegar
Pour in a cup or so of white vinegar into the water. Vinegar is acidic, which helps break down the burnt-on food without damaging the pan.
4. Bring to a Boil
Place the pan on the stove and bring the water and vinegar mixture to a boil. Let it boil for a few minutes. The combination of heat and vinegar will start loosening the burnt residue.
5. Add Baking Soda
Remove the pan from heat and carefully add a few tablespoons of baking soda. The baking soda will react with the vinegar, creating a fizzing action that helps lift the burnt residue from the pan’s surface. Let it sit for a few minutes to allow the reaction to work.
6. Scrub Gently
After the fizzing has stopped, use a soft sponge or non-abrasive scrubber to gently scrub the burnt area. In most cases, the burnt residue should come off easily at this point. If there are any stubborn spots, use a wooden or silicone spatula to scrape them off without scratching the pan.
7. Rinse and Inspect
Rinse the pan with warm water and inspect it. If there are still burnt spots, repeat the process or use a bit more baking soda directly on the stubborn areas and scrub gently.
8. Final Clean
Once all burnt residue is removed, wash the pan with dish soap and warm water as you normally would. Dry it thoroughly to prevent rust or water spots.
Why This Method Works
Vinegar and Baking Soda Power
Vinegar’s acidity works to break down the carbonized material while being gentle on the pan’s surface. Baking soda, on the other hand, is a mild abrasive and a natural cleaner that reacts with the vinegar to create carbon dioxide bubbles, which help lift off the burnt bits. This combination is powerful yet non-toxic, making it safe for both you and your cookware.
Heat
Heat helps to loosen the burnt residue by expanding the metal slightly and breaking down the bond between the burnt food and the pan. This makes the subsequent cleaning much easier.
Gentle Scrubbing
Using a non-abrasive scrubber prevents damage to the surface of the pan, ensuring that your cookware remains in good condition and lasts longer.
Tips for Prevention
1. Cook at the Right Temperature
Continued on next page
For Complete Cooking STEPS Please Head On Over To Next Page Or Open button (>) and don’t forget to SHARE with your Facebook friends ADVERTISEMENT
Avoid using excessively high heat unless absolutely necessary. Medium to medium-high heat is usually sufficient for most cooking tasks and helps prevent burning.
2. Stir Regularly
Stirring your food regularly while cooking prevents it from sticking to the bottom of the pan and burning.
3. Use Enough Oil or Butter
Make sure there’s enough oil, butter, or other fat in the pan before you start cooking. This creates a barrier between the food and the pan, reducing the chances of burning.
4. Monitor Cooking Times
Set timers or stay close to the kitchen when cooking foods that are prone to burning. It’s easy to get distracted, but monitoring your food closely can save you from dealing with burnt pans.
For Complete Cooking STEPS Please Head On Over To Next Page Or Open button (>) and don’t forget to SHARE with your Facebook friends ADVERTISEMENT
ADVERTISEMENT